Outdoor IPC
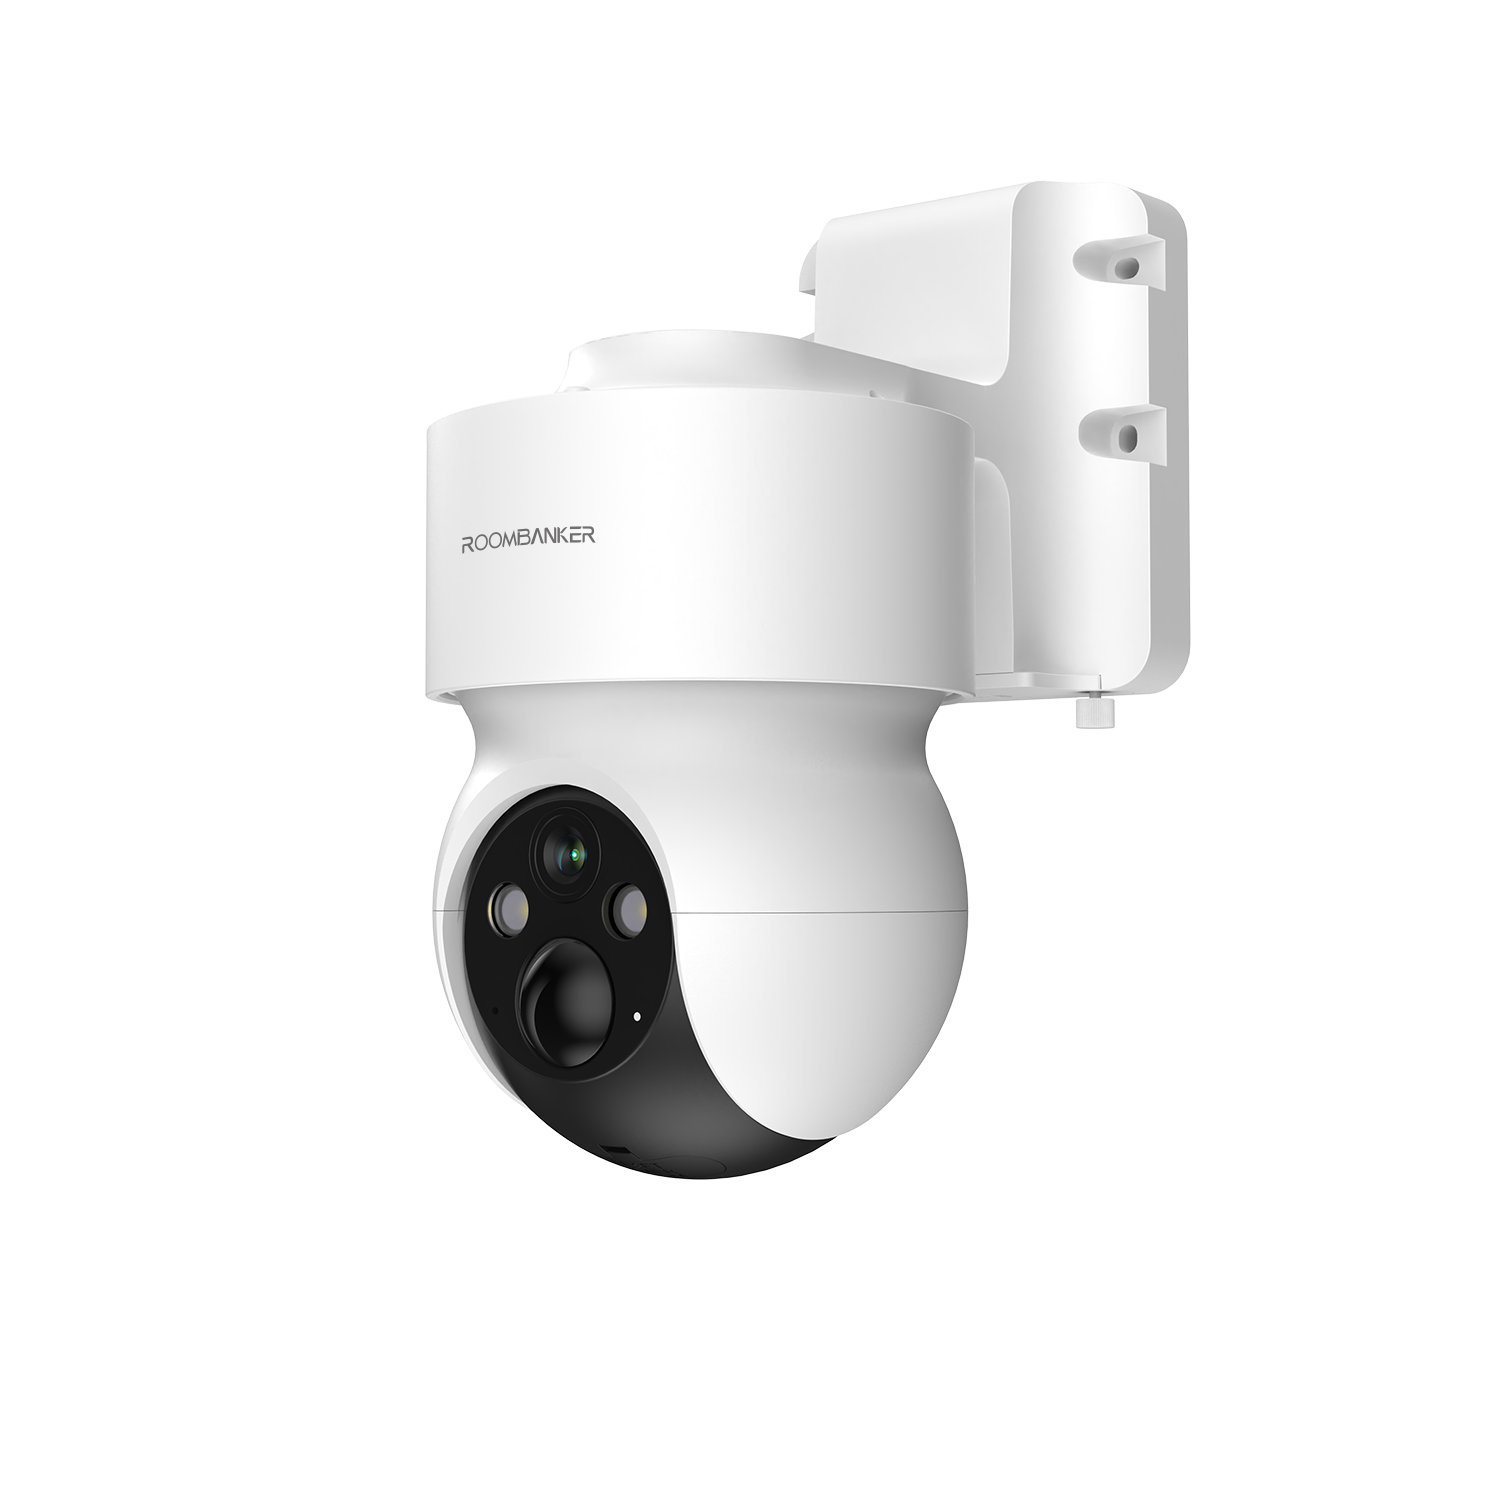
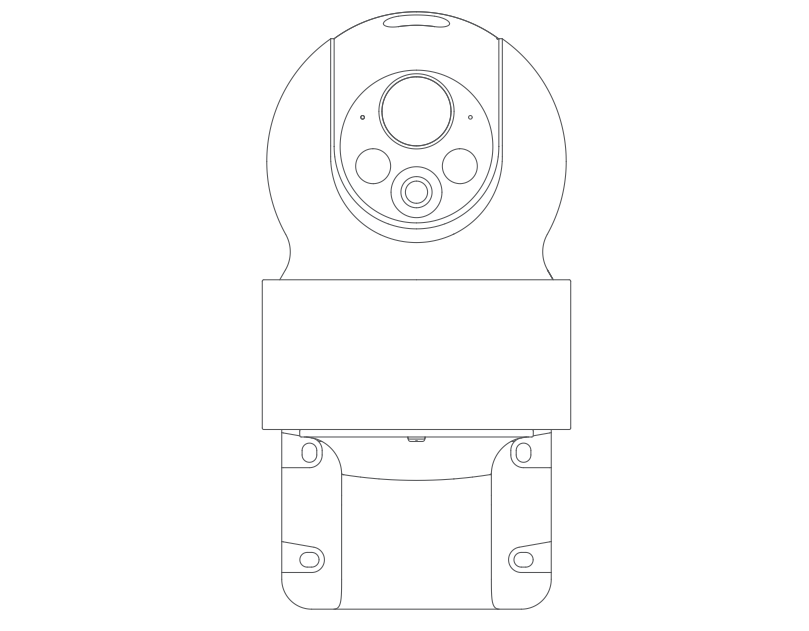
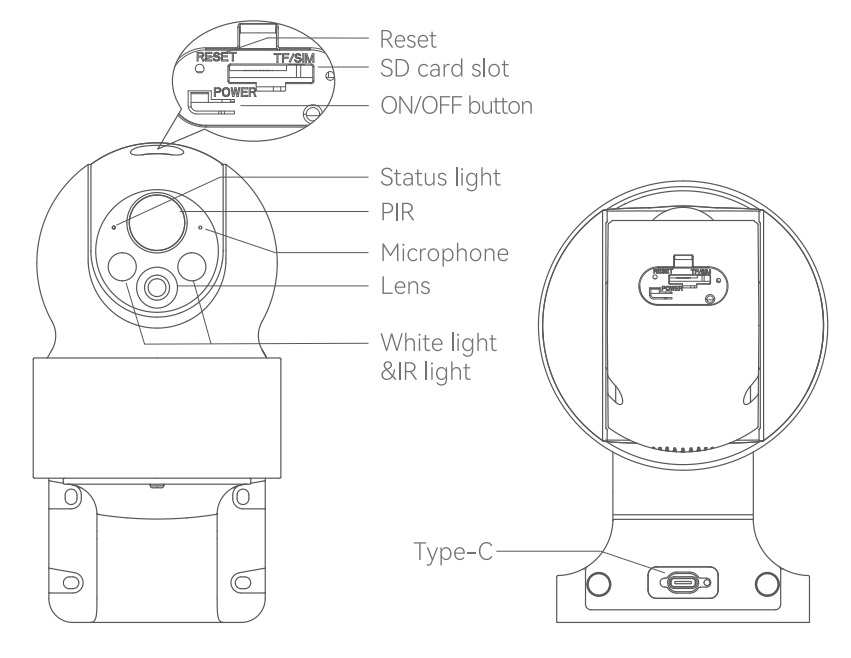
1. Appearance
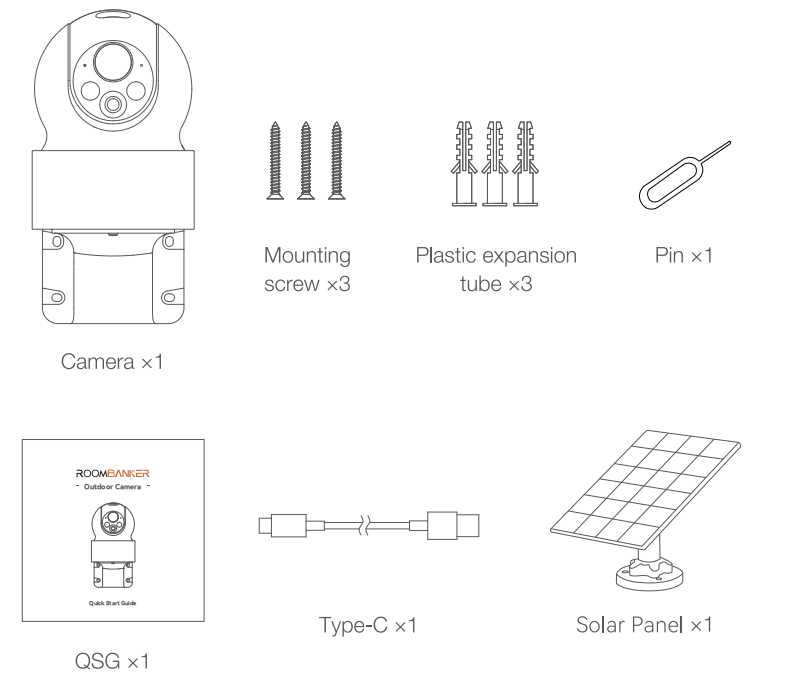
2. Packaging List
3. Guidance on setting the network
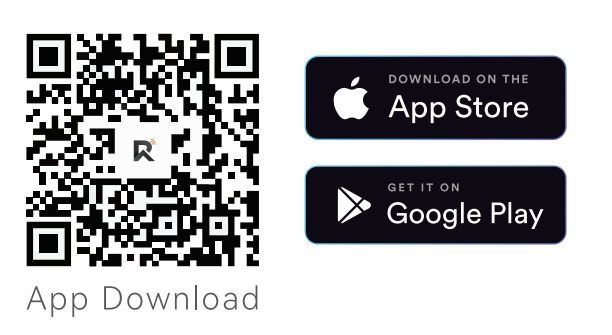
"RB Link" App Installation:
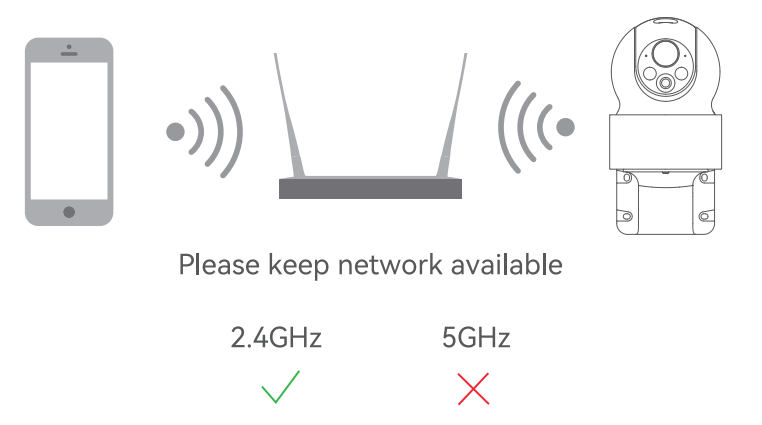
4. Set up router
The device supports 2.4GHz WiFi (does not support 5GHz).
Please set the router parameters and record your WiFi SSID and password before connecting to the WiFi network.
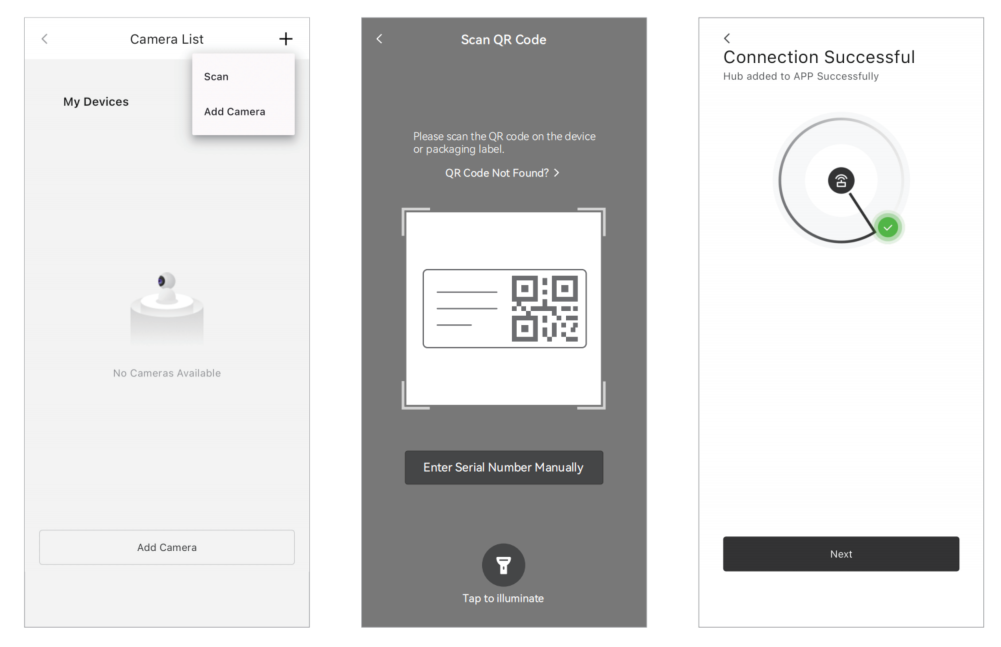
5. Add Outdoor Camera
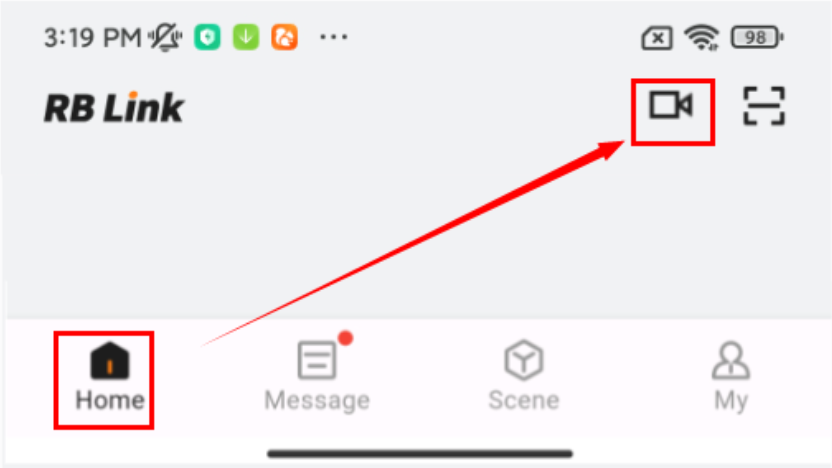
1.Plug in the cable to power up the Camera. Wait a moment until the red indicator starts flashing.
2.Click " + --> Scan " to add Camera by scanning the QR code.
3.Connect to the internet via Wi-Fi, the blue indicator turns on when the connection is successful.
6. Installation Instruction
1)Mark the screw positions with the bracket;
2) Use a power drill to drill the screw holes;
3) Install the expansion screws (use a hammer);
4) Fix the bracket to the wall with screws.

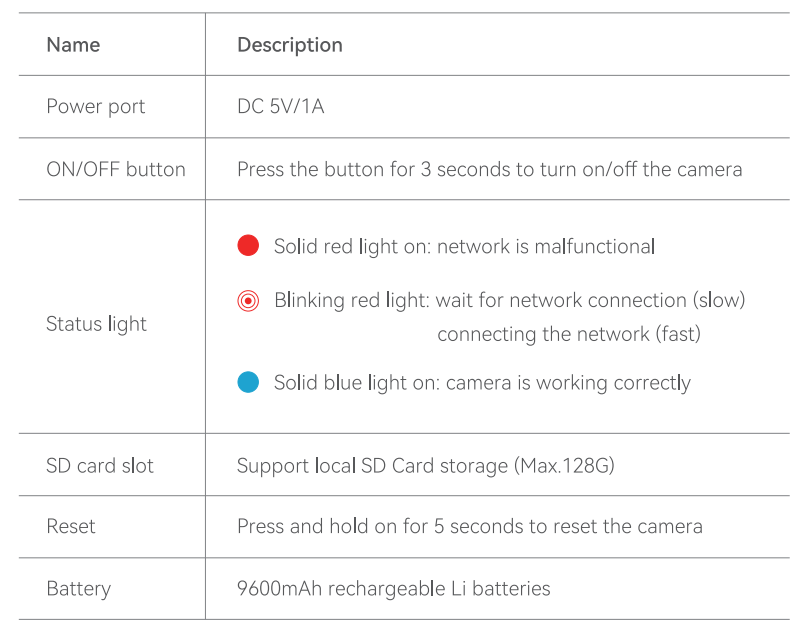
7. Device Specifications
7.1 Feature
| Parameter | Value |
|---|---|
| Pixel | 5 million pixels |
| Effective Pixels | 2592(H) x 1944(V) |
| Lens&FOV(Horizontal /Vertical/Diagonal) | 100°/55°/120° |
| Pan/Tilt | Pan:0° ~ 350°, tilt: -90° ~ 30° |
| IR Distance | Night visibility up to 30m |
| Voice Type | Two-way audio |
| Monitoring Area Surveillance | Support |
| Mobile Phone OS | iOS 9 or later, Android 5 or later |
7.2 General
| Parameter | Value |
|---|---|
| Storage | TF card (Up to 256GB) |
| Wireless | 2.4GHz Wi-Fi(IEEE802.11b/g/n/ax) |
| Power Supply | DC 5V/1A (Type-C) |
| Waterproof | IP65 |
| Operation temperature | -10°C to 50°C |
| Capacity | 9600mAh rechargeable Li batteries |
| Accessory | Solar Panel |
| PIR Detection Range/Angle | 10m/120° |
| Dimensions | 158 x 103 x200mm |
| Net Weight | 730g |