Indoor IPC
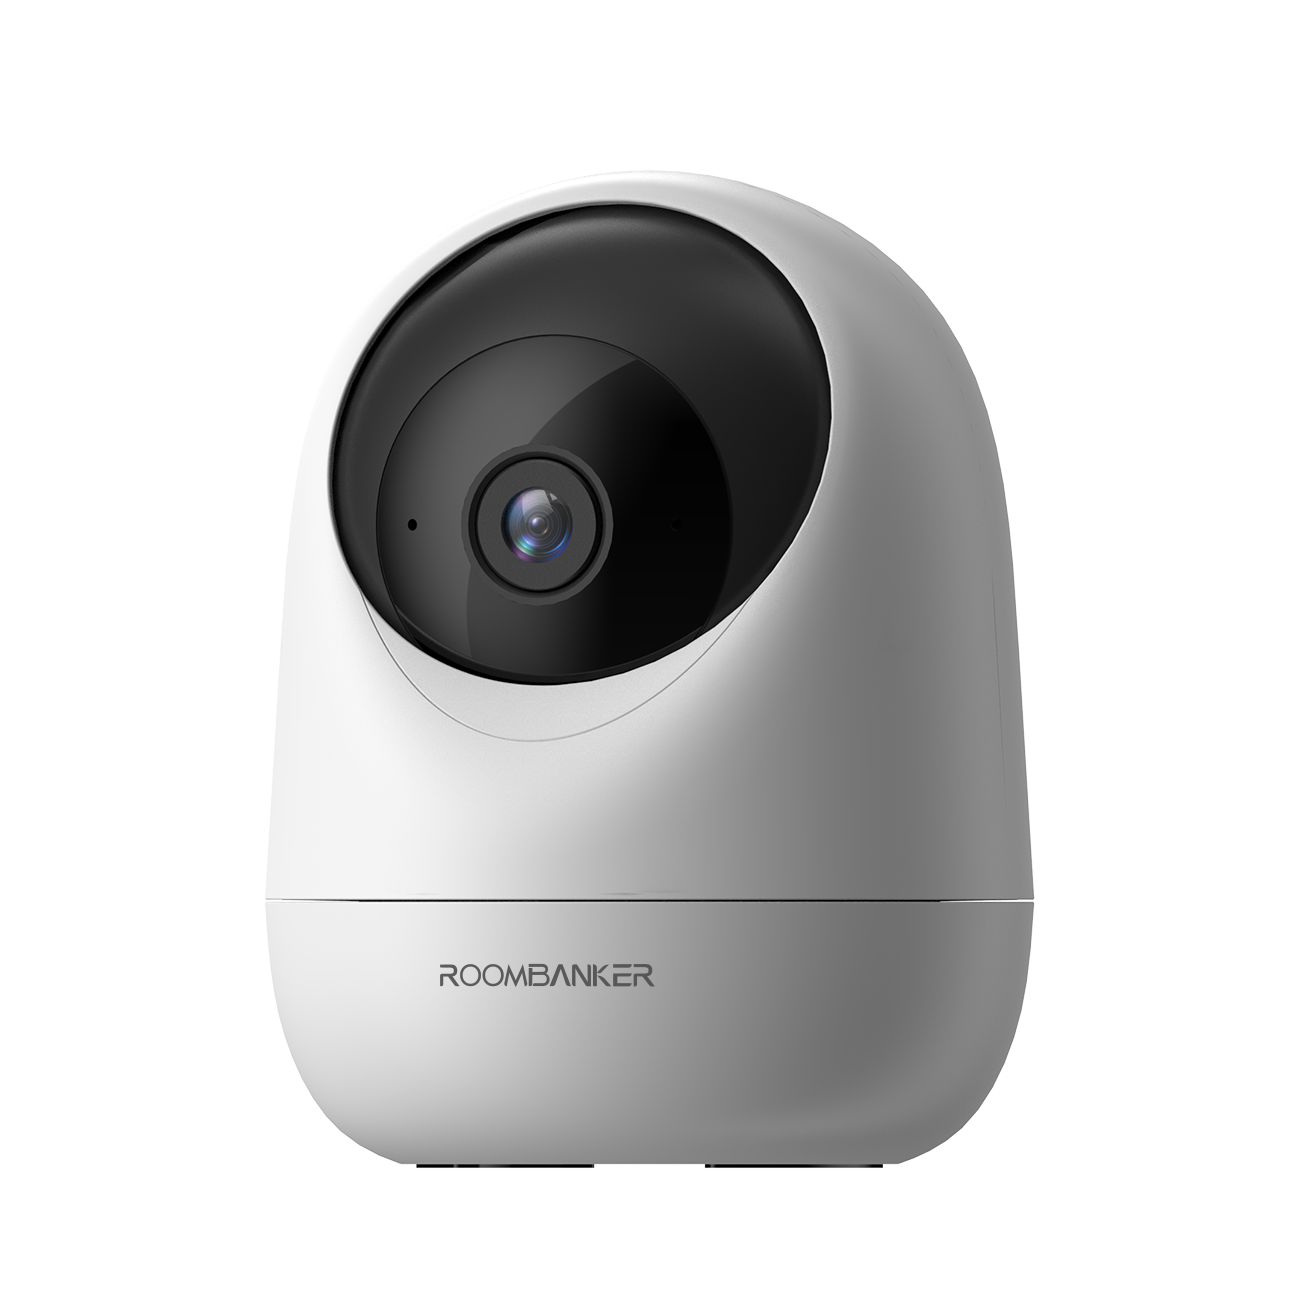
1. Appearance

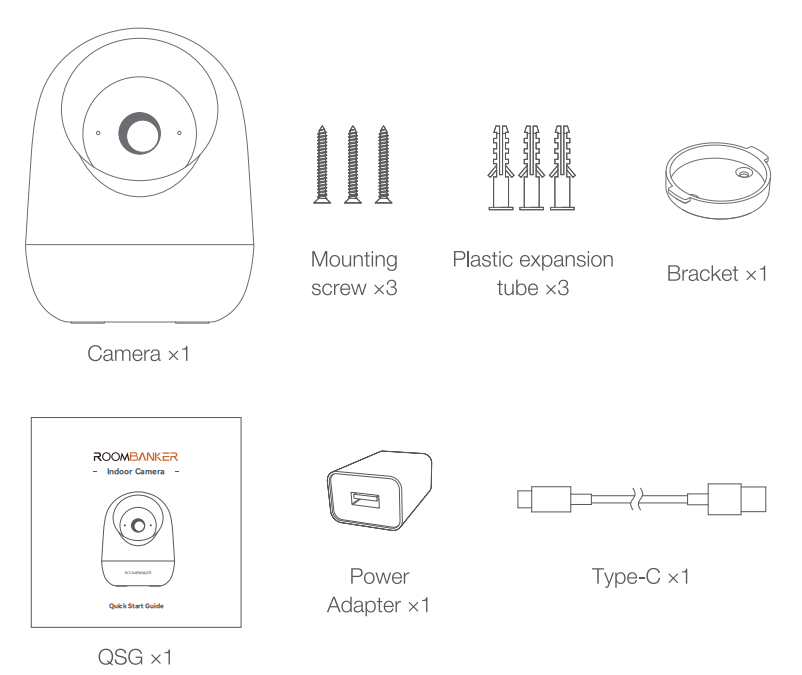
2. Packaging List
3. Guidance on setting the network
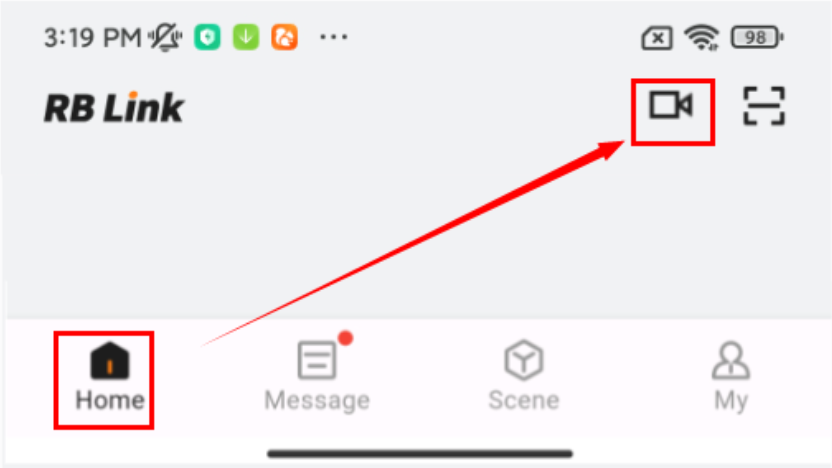
"RB Link" App Installation:

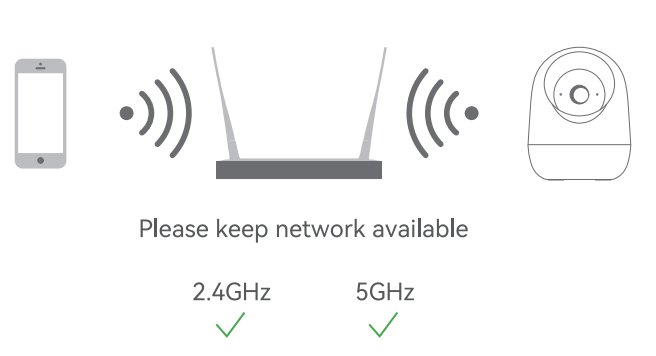
4. Set up router
The device supports the 2.4GHz &5GHz WiFi.
Ensure you have the SSID and password.
Note: The length of the Wi-Fi SSID and password should not exceed 24 characters. If your device has trouble connecting to the Wi-Fi network, or if you wish to switch networks, press and hold the RESET button for 5 seconds to reset the device.
5. Add Indoor Camera
1.Plug in the cable to power up the Camera. Wait a moment until the red indicator starts flashing.
2.Click " + --> Scan " to add Camera by scanning the QR code.
3.Connect to the internet via Wi-Fi, the blue indicator turns on when the connection is successful.

6. Installation Instruction
6.1 TF card installation (optional)
a.Push the camera upwards to reveal the TF card slot.
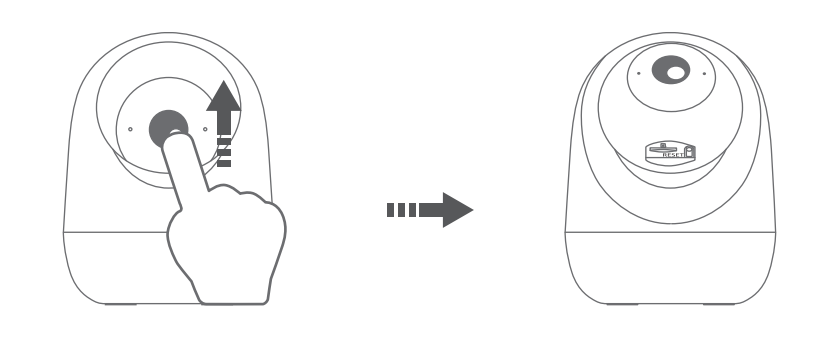
b.Insert the TF card (sold separately) into the TF card slot.

6.2 Installation
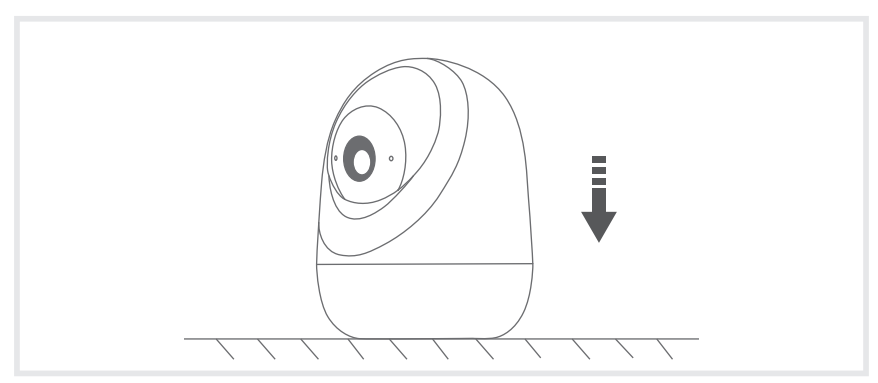
Method 1
Place the camera on a horizontal surface where Wi-Fi singal is strong.
Method 2
Install the device to ceiling.
Note: Make sure the wall is strong enough to withstand 3 times the weight of the device.
Do not stick the adhesive tape on the limewashed walls.
a.Pick a clean and flat surface.
b.Fix the included mounting bracket to the clean surface.
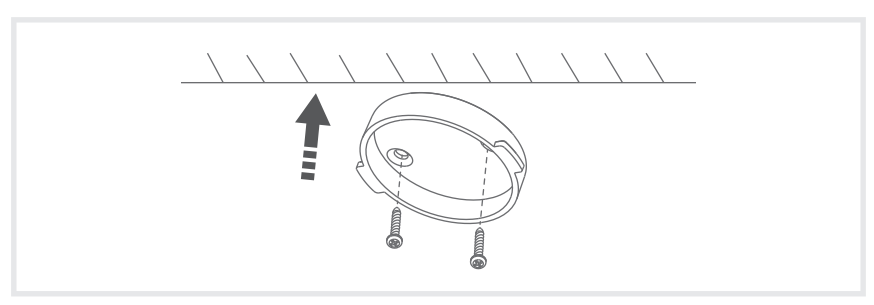
c.Insert the camera to the bracket.
7. Device Specifications
7.1 Feature
| Parameter | Value |
|---|---|
| Pixel | 4 million pixels |
| Effective Pixels | 2560(H) x 1440(V) |
| Lens&FOV(Horizontal /Vertical/Diagonal) | 85°/45°/95° |
| Pan/Tilt | Pan:0° ~ 350°, tilt: 50° ~ -45° |
| IR Distance | Night visibility up to 10m |
| Mobile Phone OS | iOS 9 or later, Android 5 or later |
7.2 General
| Parameter | Value |
|---|---|
| Storage | TF card (Up to 256GB) |
| Operation temperature | -20°C to 50°C |
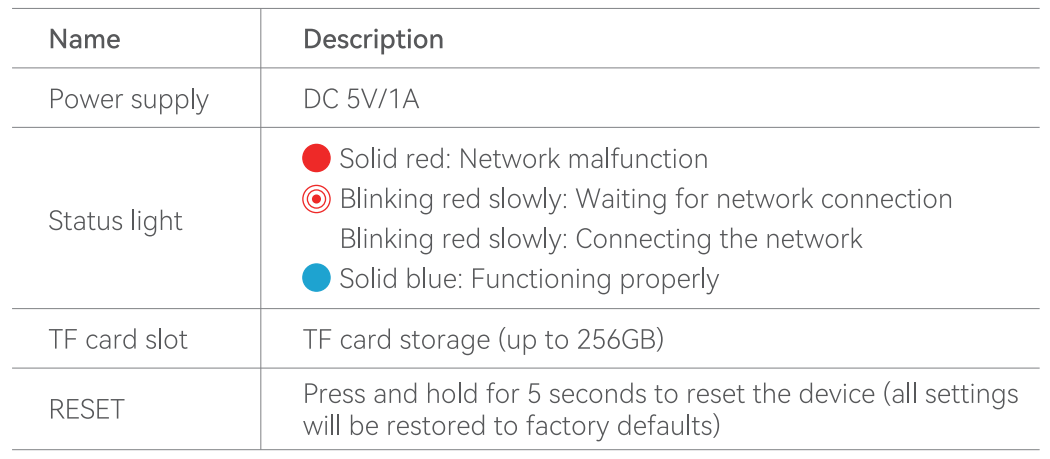
| Power Supply | DC 5V/1A (Type-C) |
| Power Consumption | Up to 4.5W |
| Dimensions | φ82 x 106mm |
| Net Weight | 188g |